
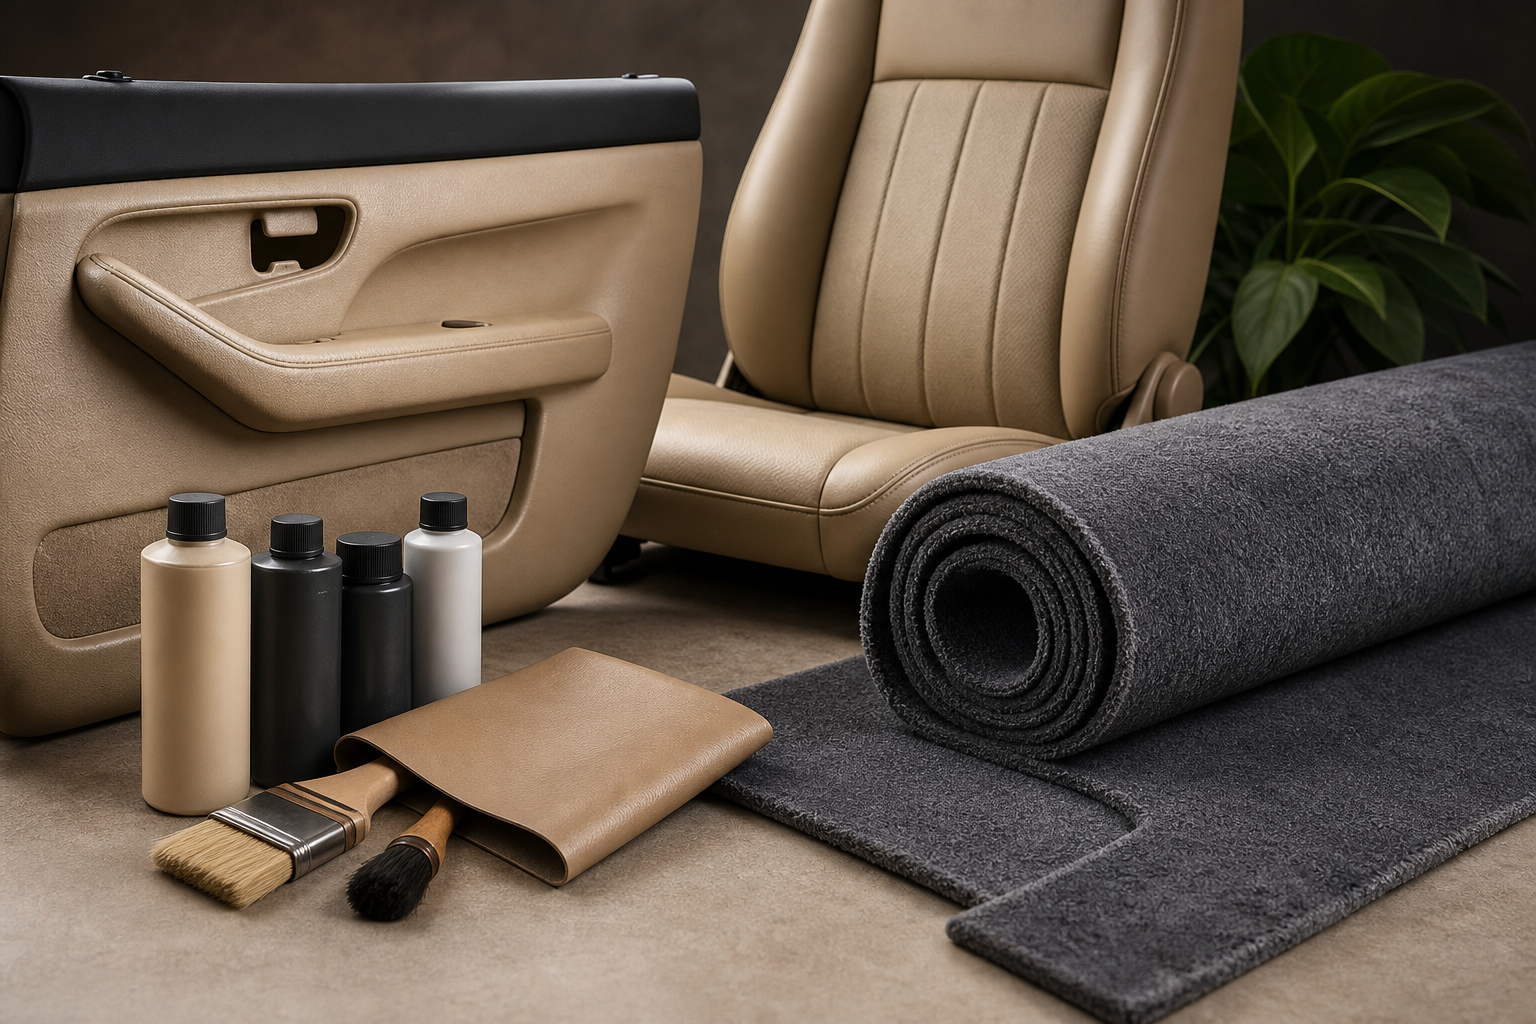
Dyeing Your Car’s Interior Vinyl and Installing New Carpet: A Complete Guide
Dyeing Car Interior Vinyl to Black
Transforming your car’s interior to black requires careful surface prep and the right materials. Vinyl and plastic panels need to be clean, degreased, and scuffed with fine scotch-brite before any dye or paint touches them.
Start by washing all interior pieces with warm soapy water and a soft sponge, then wipe down with rubbing alcohol to remove oils and residue. Once dry, lightly scuff the surfaces—this helps the dye adhere properly. Skip this step and you’ll have paint peeling off in weeks.
Choosing the Right Product
Not all dyes work equally on car interiors. Vinyl-specific products like Duplicolor Vinyl and Fabric Dye outperform standard spray paint because they flex with the material as temperatures change. Regular paint cracks and chips when vinyl expands and contracts.
VHT and SEM rattle cans are also popular choices among enthusiasts. The key is finding a product formulated for flexible surfaces. Avoid hard automotive paints designed for metal.
Application Technique
Apply dye in thin, light misting coats rather than one or two thick coats. Five or six light passes create a uniform, even finish. Heavy coats look blotchy and run together.
Shake the can for a full minute, hold it 6-8 inches from the surface, and use steady overlapping passes. Dye dries quickly—usually within 10 minutes—but wait 12-24 hours before reinstalling panels or handling the material. Rushing this invites smudges and fingerprints that mar the finish.
Adhesion Promoter Is Not Optional
An adhesion promoter applied before the dye creates a bond between the material and the color coat. Without it, dye chips off easily when bumped or scraped. Spray the promoter, let it dry per instructions (usually 5-10 minutes), then apply your vinyl dye.
Replacing Interior Carpet
New molded carpet transforms a car’s interior more dramatically than almost any other single change. Proper installation requires patience and the right removal sequence.
Preparation Before Installation
When your new carpet arrives, unroll it in a warm area for 1-2 hours to let it regain its molded shape. If possible, lay it in direct sunlight for several hours on a warm day. Relaxed carpet fits better and requires less force during installation.
Before cutting anything, lay the new carpet over the old one and verify the seams, tunnel area, and contours align correctly. Once you cut, most suppliers won’t accept returns. A dry fit catch saves money and frustration.
Disassembly and Removal
Remove seats, center console, rear seat cushions, and sill plates. Some vehicles require seat belt floor brackets to come out for full access. Take photos before you start so reassembly is easier.
The old carpet typically comes out in one or two pieces. Vacuum thoroughly underneath—you’ll be surprised how much dirt accumulates under flooring.
Installation Steps
Start with the rear carpet piece first, then overlap the front segment. Begin tucking at the tunnel and work outward toward the sills. Since the carpet is molded, you’re not laying it flat—you’re fitting it into place.
Use vise grips to hold carpet in place where sill plates will reattach. Four or so per side is typical. When trimming holes for bolts and fasteners, make small cuts. You can always remove more material, but patching a hole that’s too large is difficult and obvious.
Adhesive is usually unnecessary. The carpet’s fit and friction keep it in place, and removing it later is much easier without glue. If you do apply adhesive, use only light brush or spray application after confirming the dry fit is perfect.
Final Details
Reinstall sill plates, brackets, and console in reverse order. Tuck carpet edges under trim pieces neatly. Take your time at this stage—sloppy edges look unfinished even when the carpet itself is perfect.
Allow 24 hours for any adhesive to cure before driving. Test that the carpet doesn’t shift when you press on it from different angles.
Combining Vinyl Dye and New Carpet
A black interior that looks intentional and professional combines both treatments. Dye the vinyl and plastic first, let everything cure fully, then install new black or matching carpet.
Working in this order prevents dye overspray from landing on your new carpet. If you install carpet first, protecting it from spray overspray becomes tedious.